
After the glass pieces are cut and fitted to a pattern, the next stage is joining them permanently. Two main methods are in common use: the copper foil technique associated with Louis Comfort Tiffany and the older lead came system used in architectural glazing for centuries. The choice between them depends on the design complexity, panel size, and the structural demands of the final installation.
The Copper Foil Method
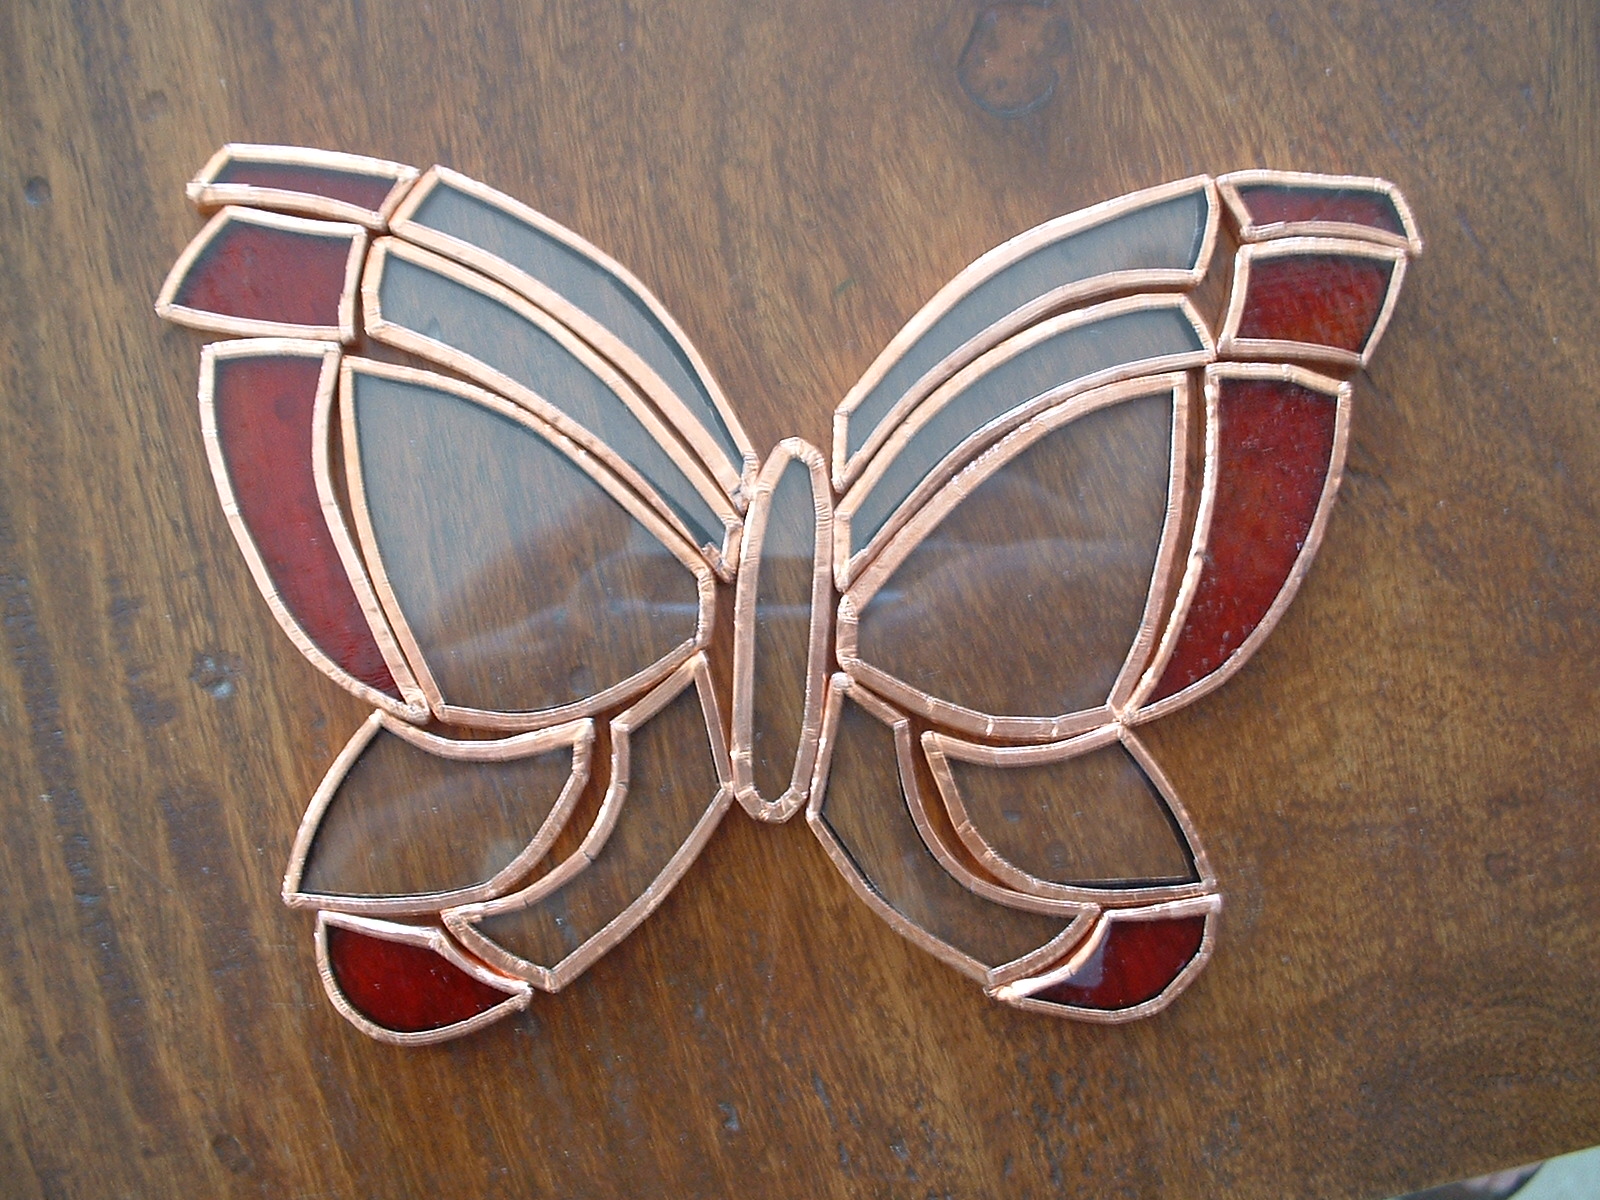
Copper foil involves wrapping the edge of each glass piece with a narrow strip of adhesive-backed copper tape before assembly. Once all pieces are wrapped and positioned, the exposed copper surfaces are soldered together to form the finished joins.
Wrapping Technique
The foil tape is available in several widths, typically between 3/16 inch and 7/32 inch. The appropriate width depends on the glass thickness — the tape should wrap over the edge and fold approximately 2–3 mm onto each flat face of the glass. Wider foil on thin glass creates bulky joins; too-narrow foil on thick glass may not adhere reliably on both faces.
Each piece is centred on the tape as it is wrapped around the perimeter. Corners require a small fold rather than a cut; tearing the tape at a corner leaves exposed glass that will not bond with solder. After wrapping, the foil is pressed firmly against both faces of the glass using a fid — a small burnishing tool — to ensure full adhesion without air pockets.
Glass pieces wrapped in copper foil, positioned before soldering begins. Wikimedia Commons / CC BY-SA 3.0
Flux Application
Before soldering, all copper surfaces must be coated with flux. Flux removes oxidation from the metal surface and allows molten solder to flow and bond cleanly. Oleic acid-based flux (often labelled as copper foil flux or stained glass flux) is standard for this method. It is applied with a small brush, covering all visible copper foil surfaces.
Tinning and Soldering
Tinning refers to the initial pass of solder over the flux-coated copper foil, which deposits a thin, flat layer of solder on all joins before the final build-up. A 60/40 tin-lead solder (60% tin, 40% lead) is commonly used in copper foil work; it melts at a lower temperature than lead came solder and flows well for the rounded bead profiles typical of Tiffany-style work.
The iron temperature for copper foil work is generally in the range of 350–400°C. Too cool an iron produces dull, lumpy solder that does not flow; too hot causes the solder to run unpredictably and may crack the glass near joins from thermal shock. The iron should be kept clean with a damp sponge during work.
After tinning, a second pass builds the characteristic rounded solder bead that sits slightly above the glass surface. The iron is moved slowly and smoothly along each join line, remelting the tinned layer to build a consistent profile.

Completed copper foil panel. The solder joins form raised lines between the coloured glass pieces. Wikimedia Commons / CC BY-SA 3.0
Lead Came Construction
Lead came is an H-profile lead strip that holds glass pieces in its channels. The technique predates the copper foil method by several centuries and remains the standard approach for large architectural windows, traditional church glazing, and panels where structural mass is appropriate.
Lead Came Profiles
Came is described by the width of its visible face (the heart) and its overall profile. Common widths range from 3/32 inch to 3/8 inch. Came with a wider face provides more visual prominence to the lead lines, which can be a design choice as much as a structural one. Rounded-face came (also called round or convex came) sheds water more effectively than flat-face came, which is why it is preferred for exterior panels in Canadian climates.
| Came Type | Typical Use |
|---|---|
| H-profile, flat face | Interior panels, decorative work, horizontal lines |
| H-profile, round face | Exterior panels, window restoration, weather-exposed installations |
| U-profile (border came) | Perimeter edge of a panel to enclose the outside glass pieces |
| Zinc came | Framing; stiffer than lead, used where structural rigidity is needed without steel reinforcement bars |
Assembly on a Jig
Lead came work is assembled on a flat building board — typically plywood or fibreboard — with two wood strips nailed at a right angle to form the starting corner. The first border piece of came is positioned against this corner, and glass pieces are fitted into the came channels one at a time, adding new came strips as each row or section is completed.
Came must be stretched before use. New lead came contains slack from the manufacturing process, and unstretched came buckles during soldering. Stretching is done by securing one end in a vice and pulling the other end firmly — typically with purpose-made stretching pliers — until the came extends by roughly 10% and becomes noticeably stiffer. Lead that has been over-stretched becomes brittle and may crack during bending.
Soldering Lead Came
The solder used for lead came is typically 50/50 tin-lead, which has a higher melting point than 60/40 and creates flat, solid joins at the intersections of came strips. Flux is applied at each intersection before soldering — a small amount is sufficient.
The iron is held on the joint until the solder flows and wets both came strips. Dwelling too long melts the surrounding came. Soldering lead came is generally faster than copper foil work because only the intersection points are soldered, not continuous bead lines.
Comparing the Two Methods
The decision between copper foil and lead came is partly practical and partly aesthetic. Copper foil handles tight curves and small pieces more easily; lead came suits large, architecturally scaled work and panels exposed to weather. Many studio practitioners use both methods depending on the project.
Ventilation and Studio Safety
Both methods involve soldering lead-containing materials. Adequate ventilation is non-negotiable in a stained glass workshop. Lead fumes from soldering are a health hazard, as is ingestion of lead dust from handling came. Hand washing before eating or touching the face, a dedicated workshop apron, and either respiratory protection or effective extraction ventilation are standard precautions.
Flux fumes during soldering — from both methods — are an irritant. Local exhaust ventilation positioned near the work surface removes the majority of flux vapour at source.
Patina and Final Finish
After soldering and cleaning, patina compounds are used to alter the colour of the solder lines. Copper sulphate solution produces a black patina on lead came and a dark brown tone on copper foil solder. Liver of sulphur gives a similar darkened effect. Both are applied with a cloth or brush, allowed to react briefly, and then rinsed.
Finishing compound — a mildly abrasive paste — is applied over the entire panel surface after patina. It polishes the glass, fills any remaining flux residue, and produces a uniform sheen on both glass and solder lines. On lead came panels, it also works into the gaps between came and glass to provide a light weatherproof seal.
Further Reading
The Stained Glass Association of America maintains technical resources covering solder specifications, flux chemistry, and installation standards for both copper foil and lead came work.